Guide to Machine Quilting for Beginners and Tips for Successful Projects
For consistent results, always utilize a walking foot. This attachment helps maintain even tension across multiple layers, ensuring a smooth finish without puckering or uneven stitches.
Integrating a color palette into your fabric selections can enhance the visual appeal of your project. Consider using color theory basics–complementary or analogous colors can create striking contrasts or serene blends.
Practicing on scrap fabric is crucial. Allocate time to experiment with different stitch patterns and tensions before advancing to your primary fabric. This trial phase allows for adjustments and greater comfort with your apparatus.
Ensure your workspace is well-lit and organized. A clear area not only improves concentration but also minimizes the risk of misplaced tools and materials, streamlining your creative process.
Familiarize yourself with various types of batting. Each material affects the drape and texture of the finished piece, so testing different options helps determine which one aligns best with your artistic vision.
Lastly, remember to maintain your equipment regularly. Clean the feed dogs and oil the machine according to the manufacturer’s instructions to avoid complications and prolong the life of your device.
Choosing the Right Machine for Quilting
Select a sewing unit that offers a wide throat space of at least 10 inches to accommodate larger projects comfortably. This feature allows easier handling of fabric layers without unnecessary bunching.
Prioritize adjustable speed settings. A slower pace can enhance control for intricate designs, while a higher speed is beneficial for faster projects.
Look for a sturdy frame; this provides stability during operation. Lightweight models may vibrate or shift, impacting stitching quality.
Consider models with an automatic thread cutter. This feature saves time and ensures consistent thread lengths, improving overall neatness.
Evaluate the feed system, opting for a walking foot or dual feed mechanism. These options ensure even fabric feeding, reducing puckering.
Review the available presser feet and accessories. A versatile selection allows for experimenting with different stitching styles and techniques.
Examine user feedback and ratings for insights into performance and reliability. This can help in identifying potential concerns before making a purchase.
Lastly, assess warranty options. A comprehensive warranty reflects the manufacturer’s confidence in their product and protects your investment.
Understanding Different Types of Quilting Threads
Choose cotton threads for their durability and ease of use. They are ideal for most projects and come in various weights, typically between 40 and 50. For a smooth finish, opt for high-quality cotton, which produces fewer lint and allows for precise stitching.
Polyester vs. Cotton
Polyester threads offer a sheen that enhances visual appeal, making them suitable for decorative elements. While they may not fray as much as cotton, their stretch can cause puckering if not handled correctly. Use polyester for machine embroidery or when extra strength is required.
Specialty Threads
Consider metallic threads for added sparkle. These threads work well for embellishments but may require special tension adjustments on your sewing machine. For extra texture, rayon threads are soft and shiny, perfect for quilting that requires a more luxurious look.
Setting Up Your Workspace for Machine Quilting
Choose a well-lit area with ample space. A larger table provides room to maneuver fabric without creasing or snagging.
Necessary Tools and Equipment
- Sewing machine with a walking foot or free motion foot.
- Quality thread suited to your fabric.
- Cutting mat, rotary cutter, and rulers for precise measurements.
- Fabric scissors, pins, and safety pins for securing layers.
- A seam ripper for correcting mistakes.
Organizing Your Space
Keep tools within arm’s reach. Invest in storage solutions, like bins or drawers, to categorize supplies. Label each container for easy identification. Maintain a tidy area to reduce distractions and enhance focus.
Consider using a design wall to arrange pieces before fastening. A vertical space helps visualize patterns and colors. Keep frequently used materials, such as batting and backing fabric, nearby to streamline the process.
Ensure your chair offers comfortable support; an adjustable height enhances posture and efficiency. If possible, use an ergonomic cutting table at an appropriate height to minimize strain during extended sessions.
Mastering Basic Stitching Techniques
Focus on even tension. Adjust the tension dial on your sewing machine for consistent stitches. Test on scraps before beginning a project.
Choose the right needle. Use a size 80/12 for general fabric; larger needles work better for thicker layers. Replace needles regularly for optimal performance.
Utilize a walking foot for straight lines. This attachment helps guide multiple layers without slipping. Ensure it’s installed correctly for best results.
Practice your stitching speed. Slow down for complex patterns to maintain control. Gradually increase speed as you gain confidence.
Incorporate guides for straight lines and curves. This can be tape on your throat plate or a magnetic guide, aiding precision.
Work with fabrics that have a bit of grip. Cotton or blends are ideal as they allow for better control compared to slippery materials.
Experiment with stitch length. Standard settings vary from 2.5 to 3.0 mm; adjust based on fabric type and desired look.
Try different thread types. Cotton is versatile, while polyester adds strength. Choosing the right thread enhances durability and appearance.
Practice free-motion control on scraps. This skill is vital for intricate designs. Keep a consistent speed while moving the fabric in desired directions.
Regularly clean your machine to prevent dust build-up. A clean machine operates more smoothly, producing better outcomes.
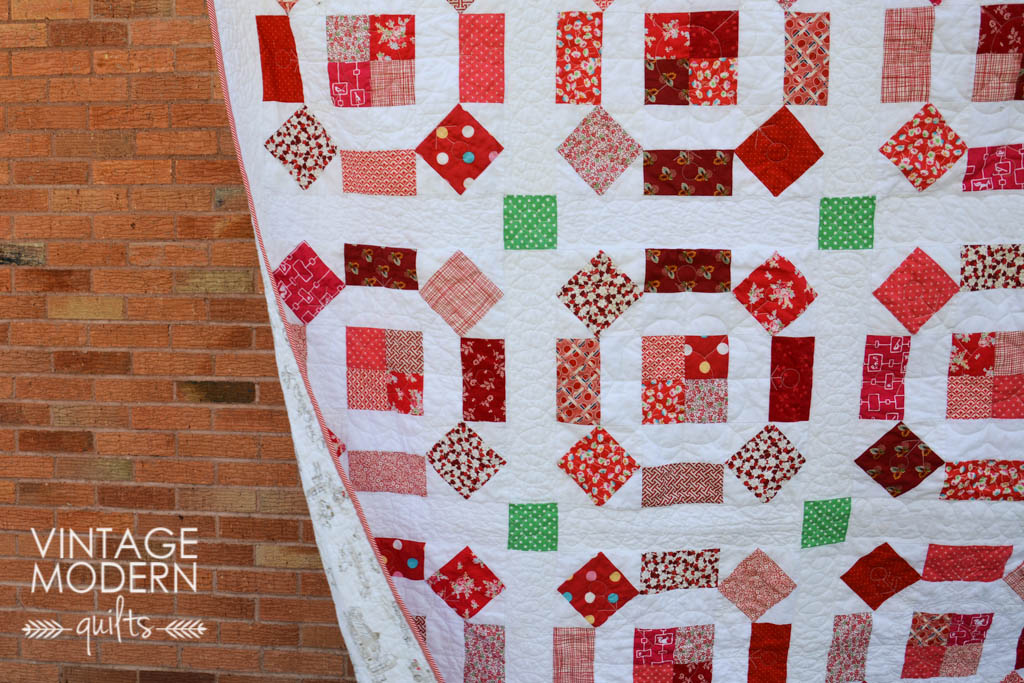
Exploring Popular Quilting Patterns
For striking results, consider the “Nine Patch” pattern, which involves assembling nine squares into a larger square. This traditional design offers versatility–play with colors to create varied visual effects. Utilize solid fabrics to enhance the pattern’s simplicity or mix with prints for a lively look.
Log Cabin
The “Log Cabin” quilt stands out for its distinctive layout of strips that create a stunning visual frame around a center square. Begin with a light fabric for the core, building outward with contrasting dark tones. This pattern works well with fabric scraps, making it practical and resourceful.
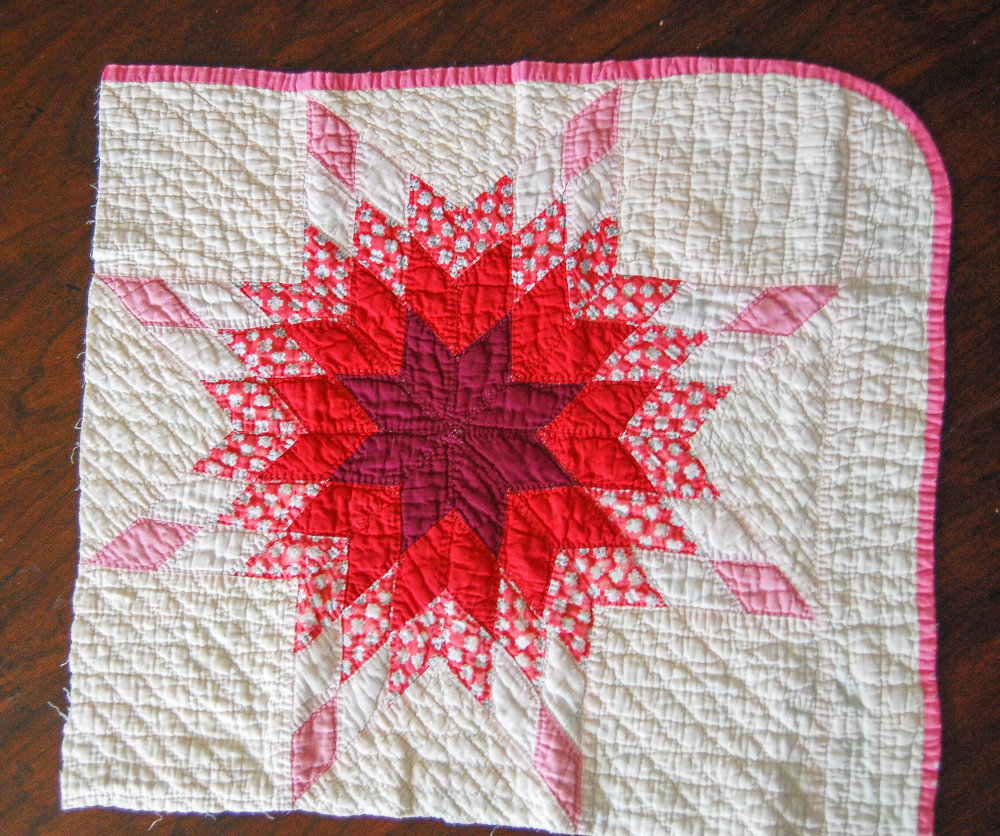
Double Wedding Ring
The “Double Wedding Ring” pattern features interlocking arcs that symbolize unity. While it may seem complex, breaking it down into manageable segments simplifies the assembly. Use contrasting fabrics to bring each arch to life, and opt for a consistent background to emphasize the rings.
Maintaining Your Machine for Optimal Performance
Regularly clean the interior and exterior surfaces of your sewing device. Dust and lint can accumulate and hinder its operation. Use a soft brush and a lint roller to remove debris from the feed dogs and bobbin area.
Oil and Lubrication
Apply oil to the designated areas as outlined in the user manual. Use high-quality sewing machine oil to ensure smooth functioning. Check the oil level consistently to prevent parts from seizing up due to dryness.
Tension Adjustment
Check and adjust the thread tension regularly. Improper tension can lead to uneven stitching. Test on scraps before starting a new project to ensure consistency in your seams.
Store needles properly, replacing them after every several projects or at the first sign of dullness. A sharp needle helps produce clean stitches, reducing stress on the mechanical parts.
Keep threads organized and avoid tangles. Store them in a cool, dry place to prevent deterioration.
Ensure all moving parts are aligned and working smoothly. Misalignment can lead to unnecessary wear. If you notice unusual noises or behavior, consult the manual or a professional technician for assistance.
Maintain the power supply and ensure that the electrical connections are secure and free from dust. Regularly inspect cords for wear or damage.
Consistency is key. Dedicate time to inspect and service your sewing equipment regularly, ensuring longevity and reliability when creating your projects.
Q&A: Machine quilting for beginners
How does using a walking foot help a beginner quilter achieve accurate straight line quilting on a quilt top?
Using a walking foot ensures even fabric feed through the sewing machine, which is essential for quilting straight lines without puckering or shifting. This is especially helpful when quilting a baby quilt or full-size quilt on a domestic sewing machine, as the walking foot helps guide the quilt sandwich smoothly and evenly across the quilt surface.
What are the key steps to prepare the quilt sandwich before beginning free-motion quilting on a home sewing machine?
To prepare the quilt sandwich, a quilter must layer the quilt top, batting, and backing fabric, then baste the layers securely—either with pins or spray. This step stabilizes the entire quilt and makes it easier to move the quilt during free-motion quilting on a domestic sewing machine, preventing bunching and ensuring smooth stitching across the whole quilt.
Why is it important to start quilting in the center of the quilt when quilting with a walking foot or doing stitch in the ditch?
Starting in the center of the quilt helps distribute the fabric evenly and minimizes shifting or distortion as you quilt toward the edges. Whether doing stitch in the ditch or straight line quilting, this approach helps control the bulk of the quilt under the sewing machine’s arm and results in a more balanced and professional-looking finished quilt.
How can quilting gloves and marked quilting lines improve control during the quilting process on a larger quilt?
Quilting gloves provide grip, allowing the quilter to guide the quilt more precisely through the machine, especially when quilting a larger quilt. Marking quilting lines in advance helps keep stitches straight and consistent, whether using a walking foot or attempting free-motion quilting. These tools are essential in helping beginner quilters build confidence and accuracy in their quilting journey.
How can a beginner new to quilting use a tutorial to learn how to quilt their first quilt on a domestic machine?
A tutorial tailored for beginners typically covers how to make a quilt from start to finish, including how to baste a quilt, choose the right sewing machine needles, and begin quilting using a straight stitch or free motion quilt method. It also provides tips on handling the weight of the quilt and managing limited sewing space on a domestic machine, making it easier to quilt your quilt for the first time.
What should a quilter do when the machine doesn’t feed the quilt evenly during the quilting part of the project?
When the machine doesn’t feed the quilt evenly, it’s often due to incorrect presser foot pressure, dull machine needles, or insufficient basting of the quilt sandwich together. To fix this, use a proper quilting foot, such as a walking foot for straight stitches or a free-motion foot, and ensure the top thread tension is balanced. Re-basting the quilt and adjusting the feed dogs can also help improve fabric movement.
Why is it important to start quilting in the middle of the quilt when quilting on your home sewing machine?
Starting in the middle of the quilt distributes the fabric weight evenly and minimizes distortion as you quilt toward the edges. This is especially important on a domestic machine where limited sewing space can make it difficult to turn the quilt or quilt 90 degrees. Quilting from the center out helps maintain a flat quilt top and ensures clean stitching lines across the entire project.
How can flipping or rotating the quilt help when quilting a larger size quilt on a small home machine?
When quilting a larger size quilt on a domestic machine, flipping or rotating the quilt allows the quilter to reposition the bulk of the fabric, making it easier to access different areas without straining the machine or the quilter. Turning the quilt strategically—especially after quilting half of the quilt—ensures consistent quilting design and control, even when quilting on a small setup like a Missouri Star Quilt beginner machine.
How can marking your quilting lines along the seam line improve hand quilting accuracy on the top of the quilt?
Marking your quilting lines directly along the seam line provides a clear visual guide and helps ensure evenly spaced stitches during hand quilting. This technique allows you to maintain consistency across quilt blocks and keep your stitches aligned with the overall design, especially if you want your quilting to enhance the structure and visual flow of the top of the quilt.
What should you consider when trying to quilt half of the quilt using a new machine or quilting machine for the first time?
When trying to quilt half of the quilt on a new machine, it’s important to adjust the sewing machine foot pressure, use appropriate quilting tips for managing fabric bulk, and flip the quilt as needed for better access. Starting from the center and working outward toward the edge of your quilt helps prevent puckering on the back of the quilt and builds confidence in developing foundational quilting skills.