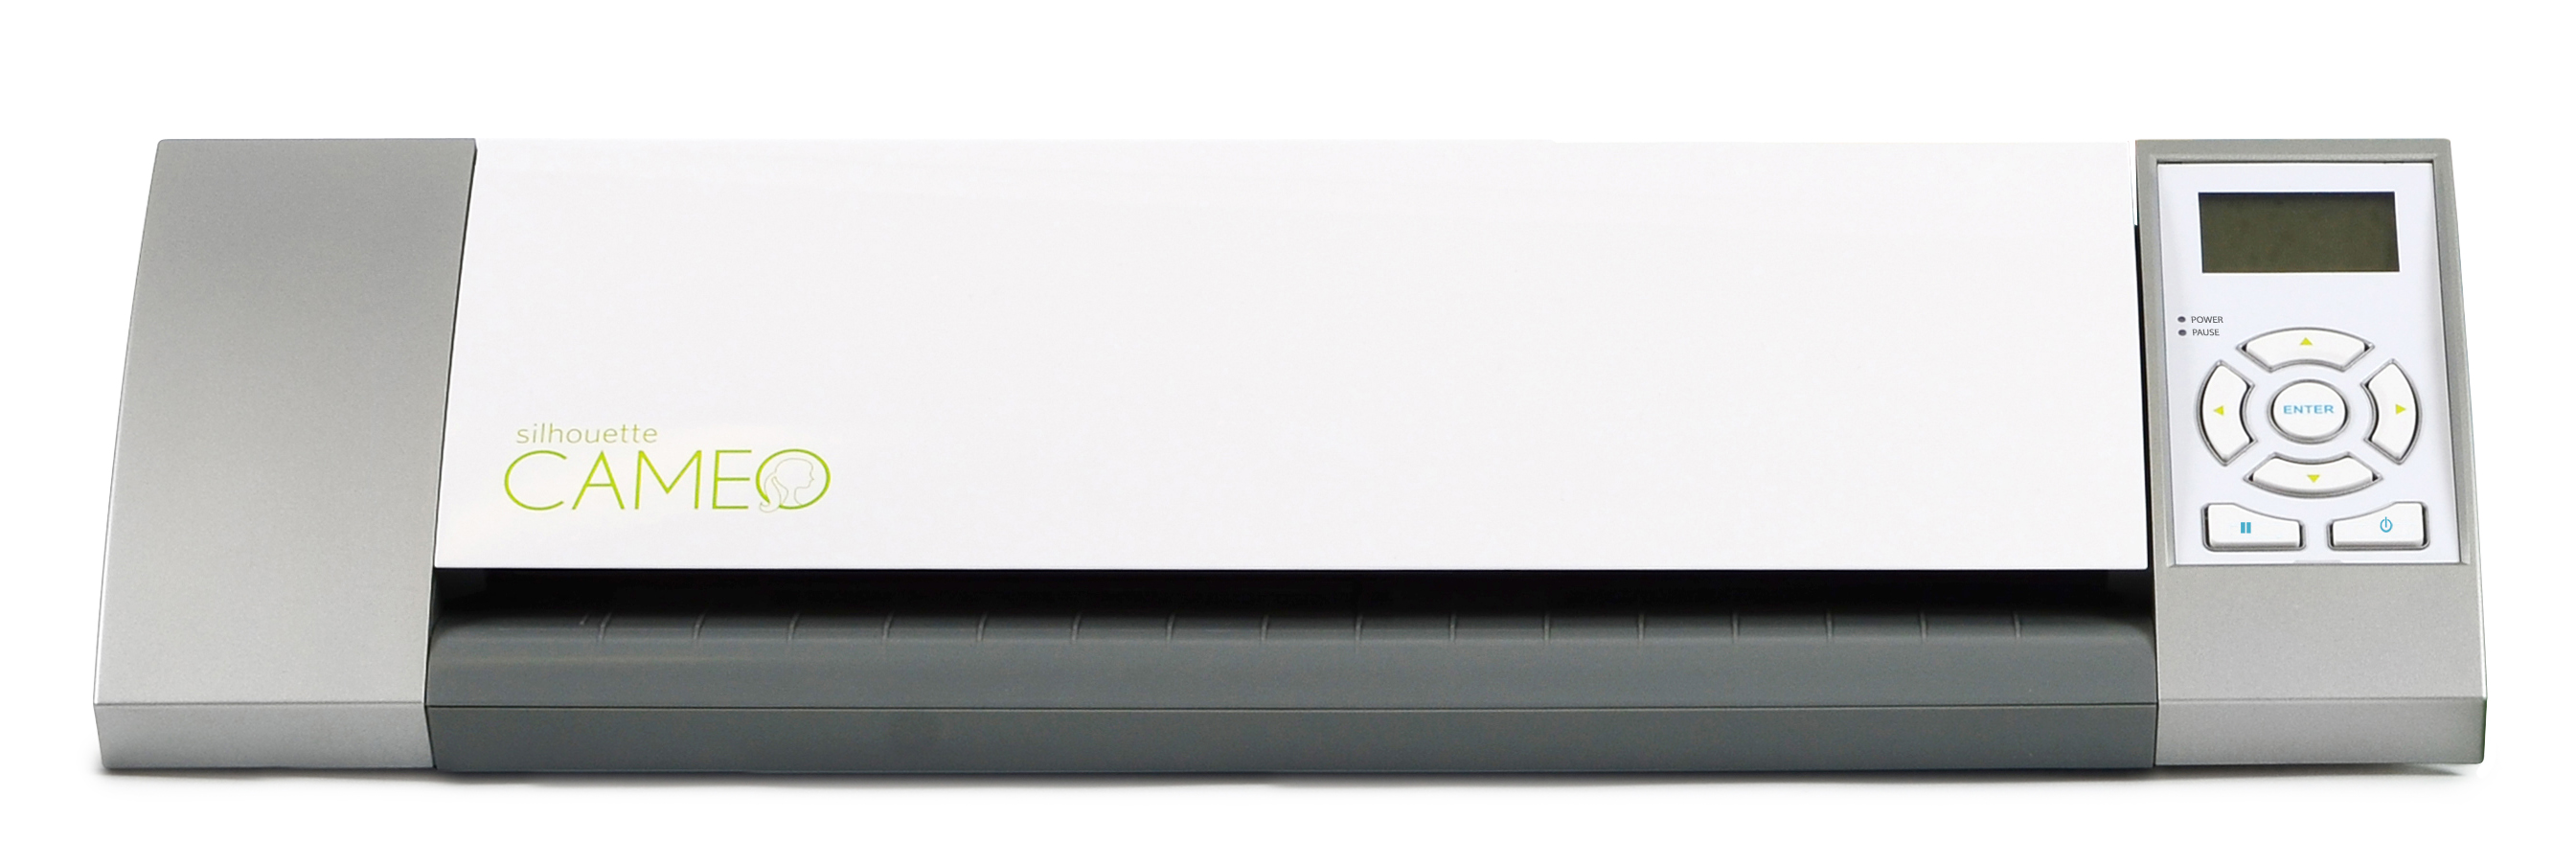
Silhouette Cameo for Quilting
It’s a really fun tool, and I’ve enjoyed designing graphics and word art for my Project Life albums and to hang on our walls. But I’ve found a new use for it that I had to share. I just started working on an applique-intensive project {Green Tea and Sweet Beans} and the thought of tracing all of the templates made me feel tired. So I did what any crafty gal would do and figured out an easier way. Freezer paper is my preferred method of applique so this may not be helpful to you if you do back-basting or some other method. (Here is a quick run-down of how to do freezer paper applique.)
1. Scan your templates.
2. Open up the scanned image in the Silhouette Studio software and crop out everything except the part you need.
3. Use the trace function to create a cut line for your shape. Ungroup or “release compound path” to clean up any little dashes or marks that don’t belong.
4. Trim some freezer paper to 12×12 (or whatever the size of your cutting mat).
5. Place freezer paper with the shiny side up on the cutting mat. Load in the Silhouette Cameo and cut! Use gentle cut settings. The built=in setting for 65lb pattern paper works okay for the shapes I was cutting, but I’ll go down to a 2 or 3 on the blade setting next time. You do not need to double cut.
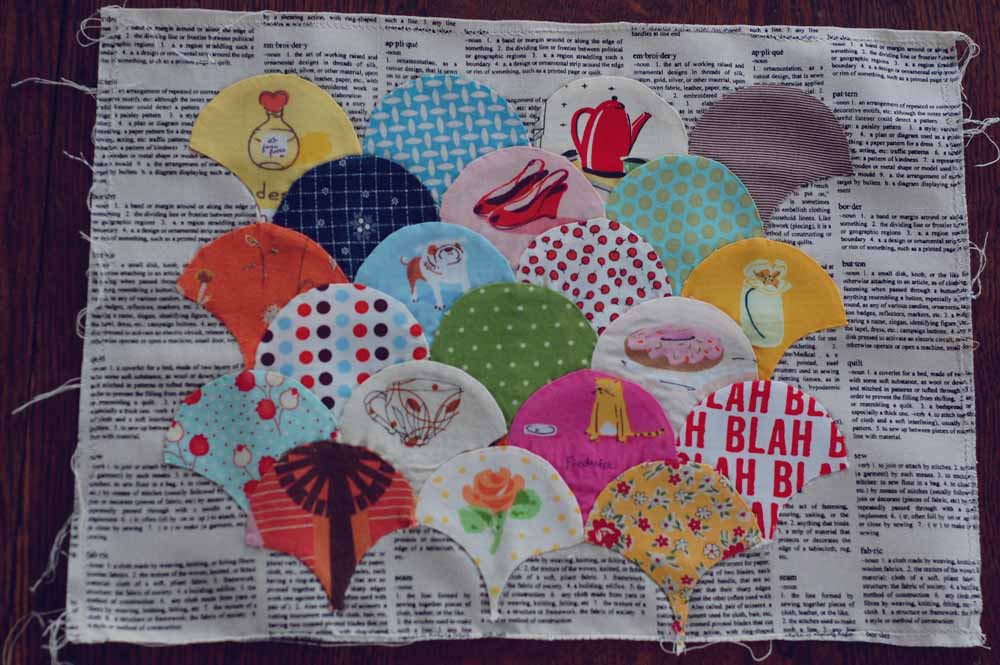
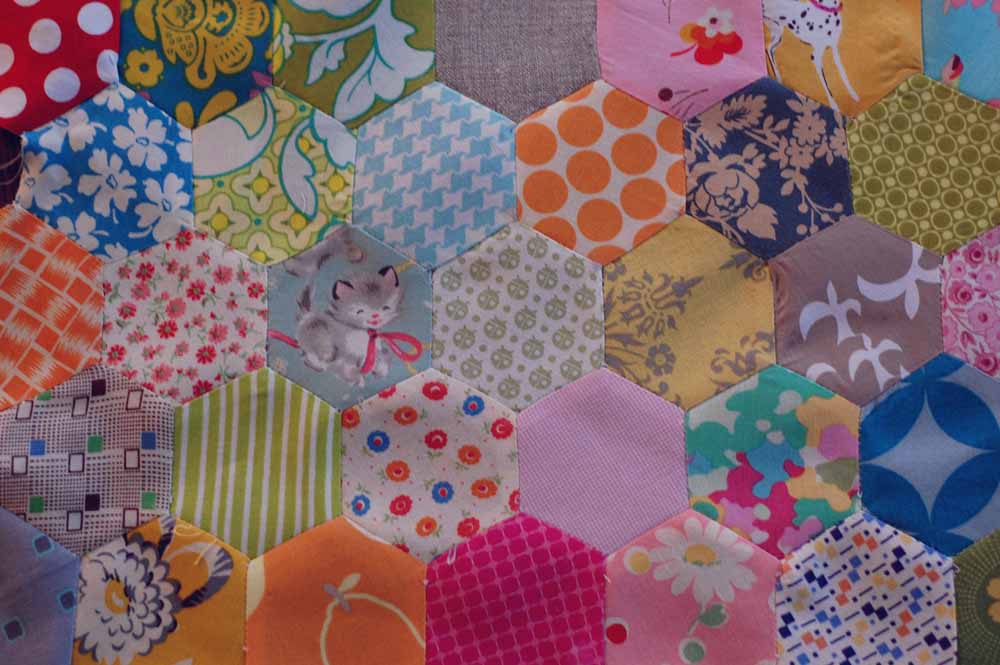
Then all you do is apply your templates to your fabric with a hot iron and applique using your preferred method. I finished two blocks for my quilt last week:
Clamshells
Hexagons
My Little Helper

I’ve already cut the templates and started prepping some more blocks for an upcoming road trip I’m taking. I love this quilt!

