Tutorial: Creating Quilt Labels
1. Open up PowerPoint and draw a box the size of the label you want (remember that you’ll need 1/4″ for piecing or needle turn applique).
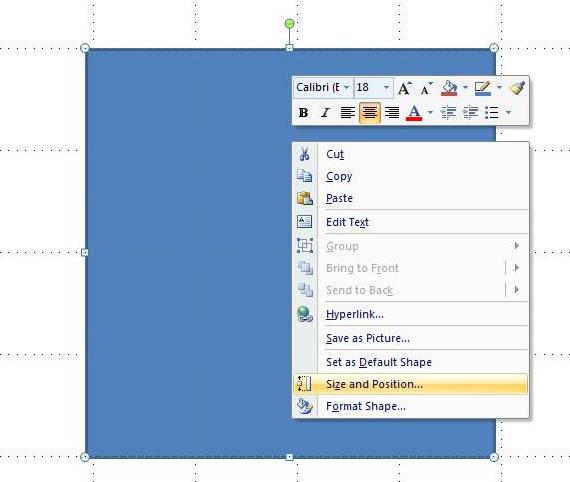
To specify the exact size of the box, right click on the one you drew, and select “Size and Position.” Enter the dimensions of your label and then hit the “Close” button.
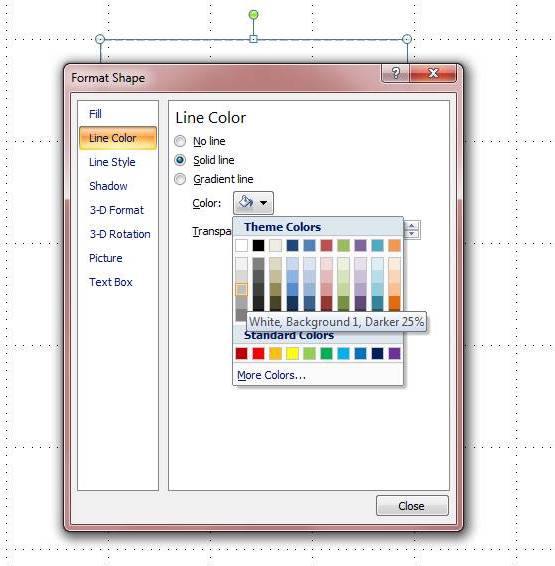
2. This box is your trim guide for the label so set the line and fill style to something light. Once again, right click on the box and this time select “Format Shape.”
For the first option, “Fill,” select None. For the second option, “Line Color,” choose one of the lighter gray tones from the drop-down menu.
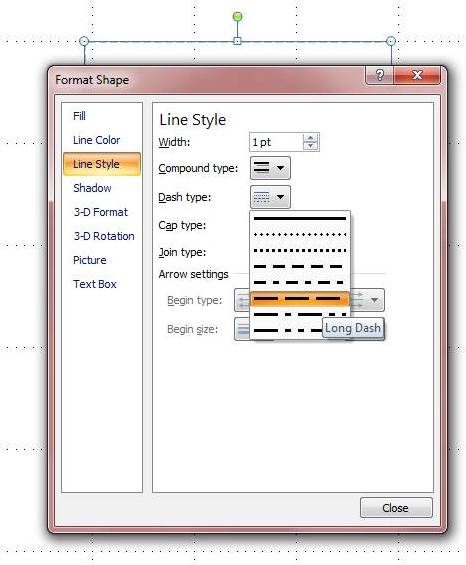
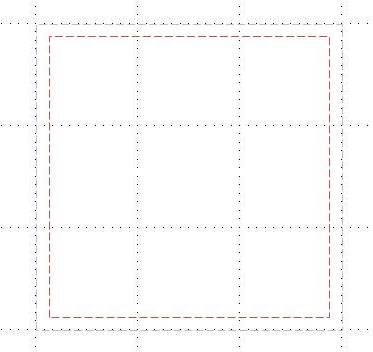
For the third option, “Line Style,” set your options to your preference. Mine are shown below:
3. Now click on the box you’ve just created and formatted, and hit the CTRL+D buttons. This will create a duplicate of your box. Re-size this second box so it’s 1/4″ smaller on each side than your original box. This is your text guide that shows you where the seam allowance is. I’ve made mine red so it stands out.
Group these two boxes together by selecting them both with your mouse and hitting the CTRL+G buttons.
4. Now it’s time to add text to the label. Insert a text box using the icon from the Drawing toolbar.
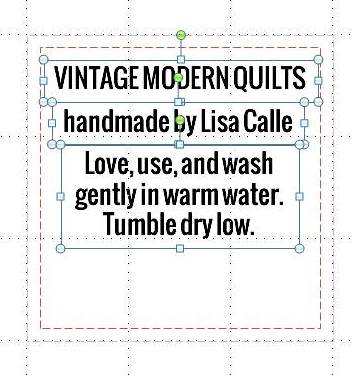
Use a separate text box for each line of text on your label (unless you are writing a paragraph) because it’s easier to toggle the lines into place in a later step. You can see my three separate lines of text below:
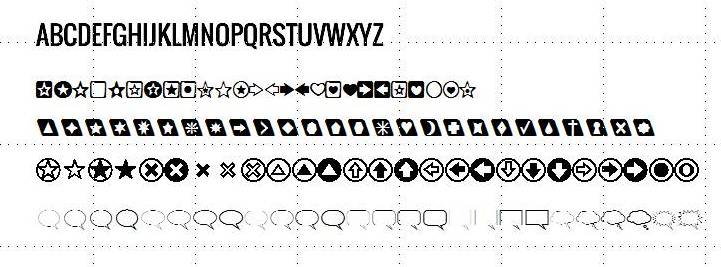
5. If you are happy with a text-only label, skip down to step 6. I’m going to add some simple graphics to mine. The easiest way to do this is using wingdings style fonts on my computer. I type out the alphabet and then change the font to various ones I have installed on my computer, The fonts shown below in order are Charms BV, Cut Outs for 3D FX 2, PizzaDude Bullets, and Talk. They are all free fonts available on the web. (The alphabet font is Oswald.)
Play around with your design a bit. Use the up and down arrows on your keyboard to toggle the elements into place. Once you’ve made a design you like, select all of the parts and duplicate it (CTRL+D). Then change up some of the elements. I made three different ones in just a few minutes:
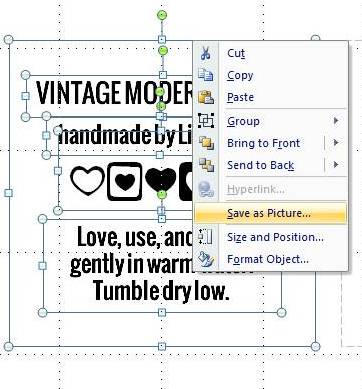
6. Now it’s time to save your file. Un-group the image and delete the second box you created to show the seam allowance (the red box in my images). Select all of the elements of your label with your cursor and right click. Select Save as Picture.
Spoonflower accepts several different image types, including .jpeg, .gif., and .png. Choose one and then name and save your document. You should also save the PowerPoint file on your computer so you can make adjustments if you want to down the road.
You could also have all of your options printed on the same yardage from Spoonflower. Just make sure you line your outer boxes up so you get maximum usage out of the fabric.
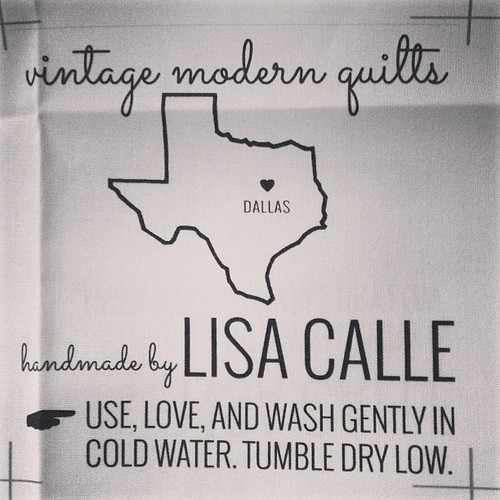
Now you’re ready to upload to Spoonflower

