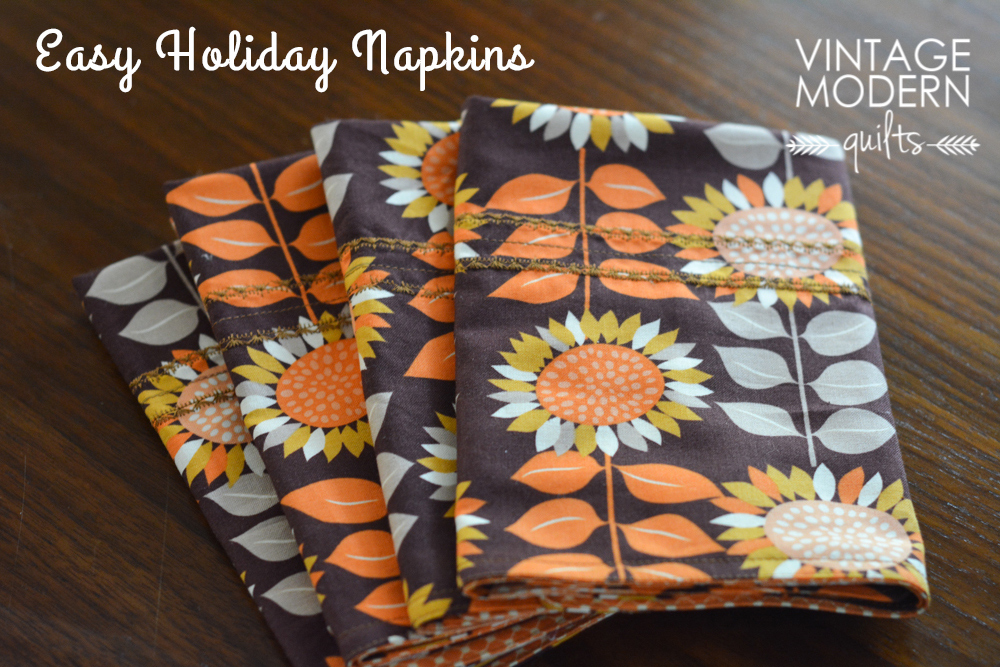
Tutorial: Simple Holiday Napkins
{If you’re here for the Classic Modern Quilts blog tour, hop down to this post}
These simple napkins are the perfect way to dress up your table during the holidays (or make a set as a hostess gift). I got into the habit of making a set of cloth napkins every six months or so as a way to reduce my fabric stash. We use them instead of paper products and it add some color and cuteness to the table at every meal. Plus. it’s far less wasteful!
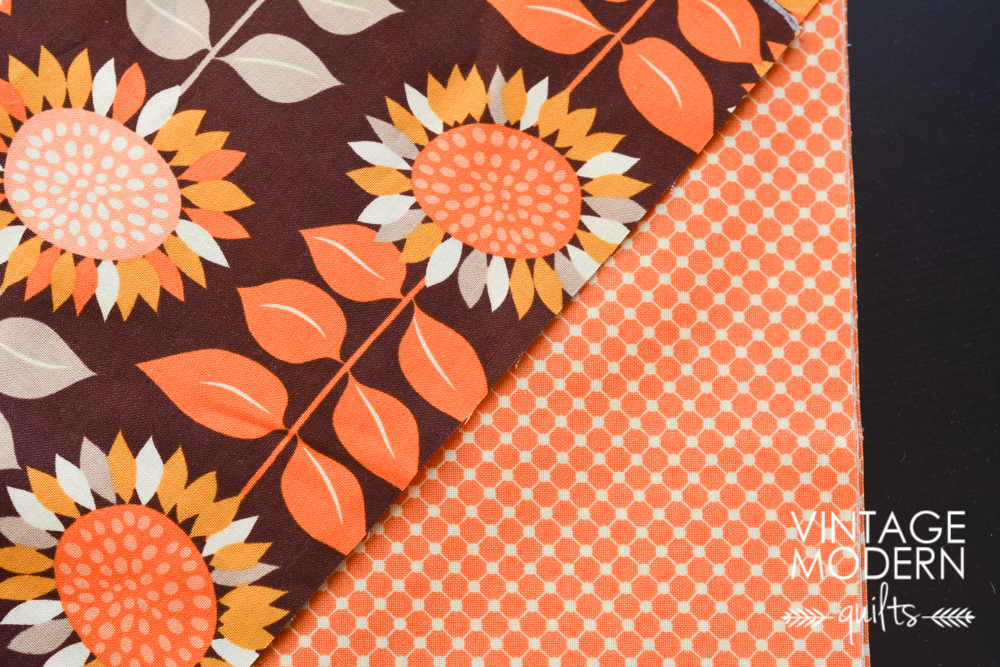 This sunflower print was on the seasonal sale rack at JoAnn’s. It’s not often that I find good fabric there but I’ve been on a winning streak lately. This print is called Autumn Inspirations Fabric – Harvest Sunflowers. The orange dot is from my stash – not sure who makes it but its several years old.
To make a set of 12 napkins, you will need:
- 1¾ yards of seasonal fabric
- 1¾ yards coordinating fabric for backing
- Coordinating thread
- 14½” square ruler*
- Marking pencil
*NOTE: I cut my napkins to 14½” square because it fits three across 44″ wide fabric. Standard napkins are generally 17″ x 17″ or 20″ x 20″ . I did not pre-wash my fabrics and had minimal shrinking but if you’re giving these as a gift, pre-wash so you can be confident that they will still look nice once the recipient washes them.
Remove selvedges and starch and press fabric. Using the 14½” ruler, cut 12 squares each from seasonal print and backing fabric (a total of 24 squares). Cut carefully to fit three napkins across the width of fabric. Pair the fronts and backs into 12 sets. With right sides together, sew a 1/4″ seam around each pair of squares, leaving a 3″ to 4″ opening. Use the opening to turn the napkin right side out. Press seams and fold raw edges of opening under to match sewn edge. Pin in place and top-stitch around entire napkin.
 Using a fabric marker, measure 5″ from the top edge of each napkin and mark a line. I used a black Frixxion pen and you can see the line in the photo below. The line turned white on my dark fabric instead of disappearing so take care when using Frixxion pens on dark fabrics.
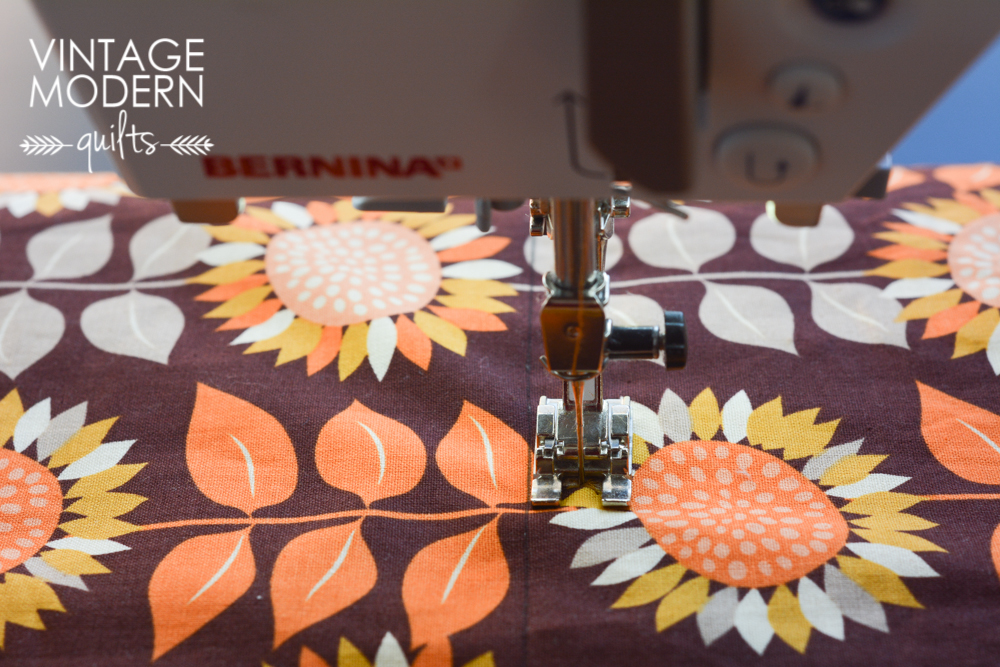 Pick a favorite decorative stitch (I used stitch number 133 on my Bernina if you happen to have the same machine.) and sew it along each side of the marked line across the width of the napkin. I sewed a top-stitch line down the Frixxion mark to cover it up, too (see white mark in photo below before I sewed over it)
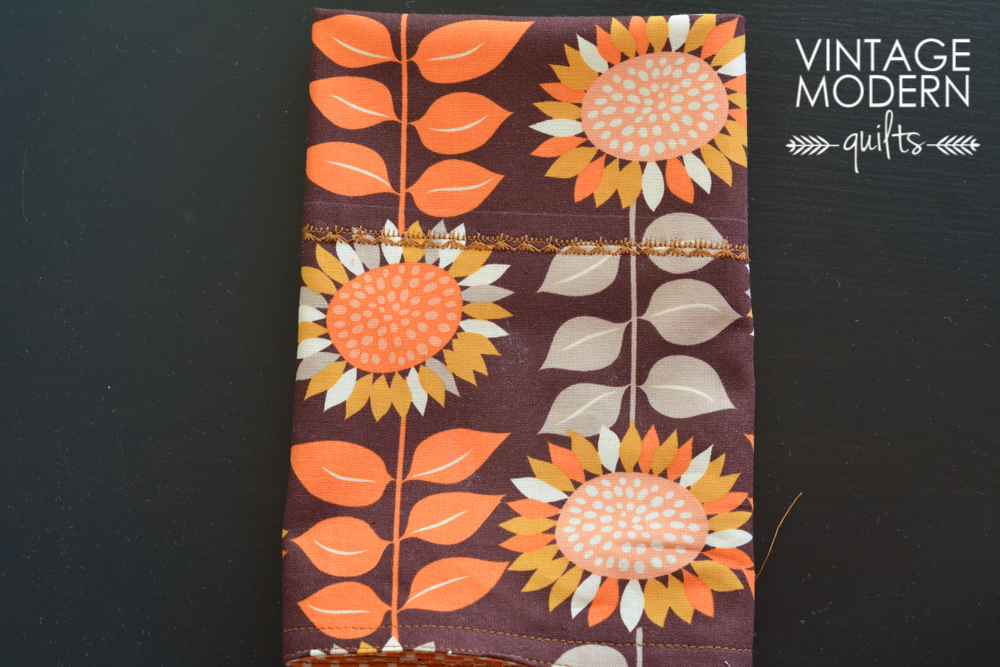 Using your presser foot as a guide, top-stitch around each napkin again, 1/4″ away from the first top-stitch line. This will lock stitch your decorative stitches without you having to tie off each end.
Makes 12 napkins measuring 14″ finished. Easy as pie!

